
-30%
-
In stock
Recommended price
272.96
-30%
191.08
Item number: 19150113

Your mechanical ventilation unit runs quietly in the background, year after year. Until you notice that something isn't quite right. You might hear a humming sound coming through the vents in your bathroom, toilet or kitchen, or your bathroom mirror stays steamed up long after a shower. These are signs that the unit is extracting less effectively or has to work harder. That raises the question: should I replace my mechanical ventilation, or will a thorough clean be enough?
Even without any problems, replacing your unit can be a smart choice, for example if you switch to a quieter or more energy-efficient mechanical ventilation unit that responds automatically to the humidity or CO2 level in your home. The good news: with the right preparation, replacing a mechanical ventilation unit is a job you can easily do yourself. That way you save on labour costs, among other things, and you choose the unit that best suits your home.
Replacing your mechanical ventilation unit? Here's what you'll learn in this blog:
A mechanical ventilation unit lasts around 15 years on average. There are roughly three reasons to replace it: the unit is worn out with age, there is a fault that is no longer worth repairing, or you want a different model. For example, a unit that is more energy-efficient or quieter, or one that controls the ventilation automatically, such as mechanical ventilation with humidity sensors or CO2 controlled mechanical ventilation C+. Older units with an AC motor in particular stand to gain a lot: a modern unit with a DC motor uses up to 50% less electricity.
Still, a mechanical ventilation unit that isn't working as well as it should doesn't have to go straight away. Many problems are caused by dust and grease building up in the vents, the ducts or on the fan impeller of the unit itself. A thorough service (do this every six years) is then quicker, cheaper and better for the environment than buying a new unit straight away. You can read how to clean a mechanical ventilation unit in our blog How can I clean my mechanical ventilation or MVHR unit? Do the problems persist after maintenance? Then replacement really is the way forward. The overview below will help you decide.
Maintenance first... then replace your unit!
Four warning signs and what to try first
The unit is noisier than it used to be
Check first
Clean the vents, have the fan impeller cleaned and check that the unit is still mounted firmly and free of vibration.
Replace if
you can still hear noise from the unit. This often points to worn bearings or a worn motor.
Moisture and odours linger (too) long
Check first
Clean the vents, check that they haven't been turned and open the trickle vents above your windows.
Replace if
extraction stays weak. The unit can no longer reach its capacity and has to work too hard all the time.
The unit doesn't respond to the (remote) control
Check first
Replace the battery in the remote control or pair the control again following the manual.
Replace if
the unit still doesn't respond afterwards. The electronics are then often faulty.
The unit is around 15 years old
Check first
Keep an eye on it for a few days: does the unit still run quietly, and does moisture clear quickly after a shower?
Replace if
you want to save energy and see results faster. A new unit with a DC motor uses up to half as much electricity.
Choosing exactly the same make and model as your old unit? Then the connections, the electrical connection and the mounting are usually the same. That's the quickest and easiest route. But a replacement can also be the perfect moment for a change. Replacing your mechanical extract unit with a different make or model works fine too, for example with a quieter unit, mechanical ventilation with humidity sensors or CO2 controlled mechanical ventilation C+. Going for something new? Then check the five points below. You'll find the first four straight away; we explain the capacity separately afterwards.
Three checks for a unit that's the perfect fit!
Connections
Compare the diameter (often Ø125 or Ø160 mm), the number of connections and where they are. Also check how the ventilation ducts are attached. If the diameter is different, you'll need a reducer.
Sensors
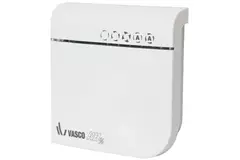
Do you already have a humidity sensor, CO2 sensor or wireless control? These usually only work with the same brand and sometimes only with the same series. If you switch, you'll need new sensors in most cases.
Dimensions
Measure the height, width and depth of the space where the unit will go. Always leave enough room for the ventilation ducts and to open the unit later for cleaning or maintenance.
The capacity of a mechanical ventilation unit tells you how much air the unit can extract per hour, in cubic metres per hour (m³/h). Has anything changed in your home since the last installation, such as an extra bathroom or toilet? Then this is the perfect moment to add an extra extract point with its own ventilation duct and, if needed, choose a unit with more capacity.
This is how to work out the capacity you need. In England, Approved Document F of the Building Regulations sets a minimum extract rate per room for continuous mechanical extract ventilation. These rates are given in litres per second (l/s). Multiply them by 3.6 to get the value in m³/h. Live in Wales, Scotland or Northern Ireland? Their own building regulations apply.

Add up the values for all the rooms connected to your unit. That tells you how much air the unit must be able to extract, at the very least, on its highest setting when all extract points are running at the same time. A home with a kitchen, two bathrooms and two toilets comes to 46.8 + 2 × 28.8 + 2 × 21.6 = 147.6 m³/h, rounded up to 148 m³/h. You can easily work out the m³/h for your own home with the calculator below.
Calculator: how much capacity do you need?
Enter how many rooms are connected to your unit.
Kitchen
46.8 m³/h per room
Bathroom
28.8 m³/h per room
Toilet
21.6 m³/h per room
97 m³/h minimum
This is an indication based on the minimum extract rates in Approved Document F (England). Choose a unit that also achieves this airflow with the resistance of your ventilation ducts.
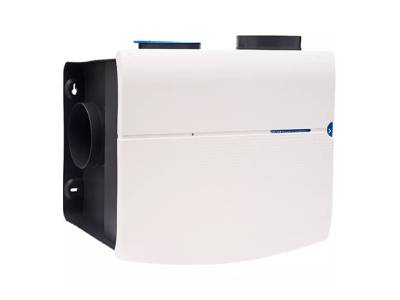
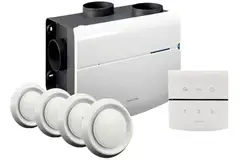
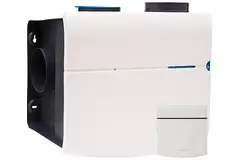
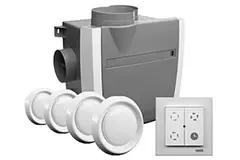
When comparing units, pay close attention to how the capacity is stated. The maximum capacity on the product page of a unit is usually measured with no or very little resistance. In your home, the air has to pass through ducts, bends and vents, so in practice the unit extracts less air. That's why you should choose a unit with plenty of spare capacity, and always check the fan curve in the documentation: it shows how many m³/h the unit achieves at a given resistance in pascals (Pa). In our Mechanical Ventilation range you'll find units from several leading international brands, with different capacities and extra features.
Item number: 19150113

Item number: 19130015

Item number: 19120523

Item number: 19130014
Item number: 19150014
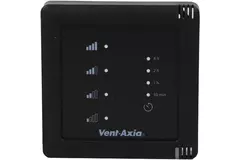
Item number: 19120531
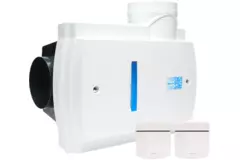
Item number: 19130026
Item number: 19130026
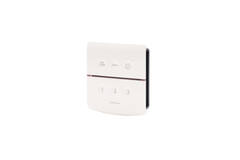
Item number: 19130111
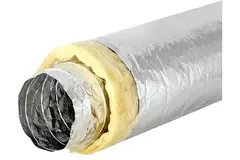
Item number: 72500112

Item number: 72600012

Item number: 72621008
Item number: 19120531
Item number: 19120504
Item number: 19120513
Item number: 19120554
Replacing your mechanical ventilation unit yourself is a very doable job. You don't need any special tools, just a sturdy stepladder or ladder and ideally someone who can take the unit from you. Please note: does anything need to change in the electrical installation, such as the wiring or the electrical connection? Then leave that part to a qualified electrician. Also check the manufacturer's warranty conditions beforehand: with some brands, the manufacturer's warranty is void if you fit the unit yourself. In any case, always make sure there are two of you when you replace a mechanical ventilation unit.

The costs mainly depend on the unit you choose and who does the work. Most units in our range cost a few hundred pounds. Want to sort everything out in one go? Then choose one of our MEV All-in-one packages. Alongside the unit, they include, for example, a wireless control, valves and sometimes sensors too. That way you have everything you need to renew your installation completely, and a package is often cheaper than buying all the parts separately. If you have the unit fitted by an installer, there are labour costs on top. Extra costs arise if new ducts, extra extract points, new sensors or changes to the electrical connection are needed.
Replacing it yourself...
You only pay for the unit and the materials that go with it
You decide when to do the job
Tip: always check whether fitting it yourself affects the manufacturer's warranty
Preferably leave changes to the electrical connection to a qualified electrician
Having it replaced...
Professionally connected and precisely adjusted
Electrical changes are taken care of straight away
Labour costs on top of the price of the unit
You depend on the installer's schedule
AdvantagePoint to note
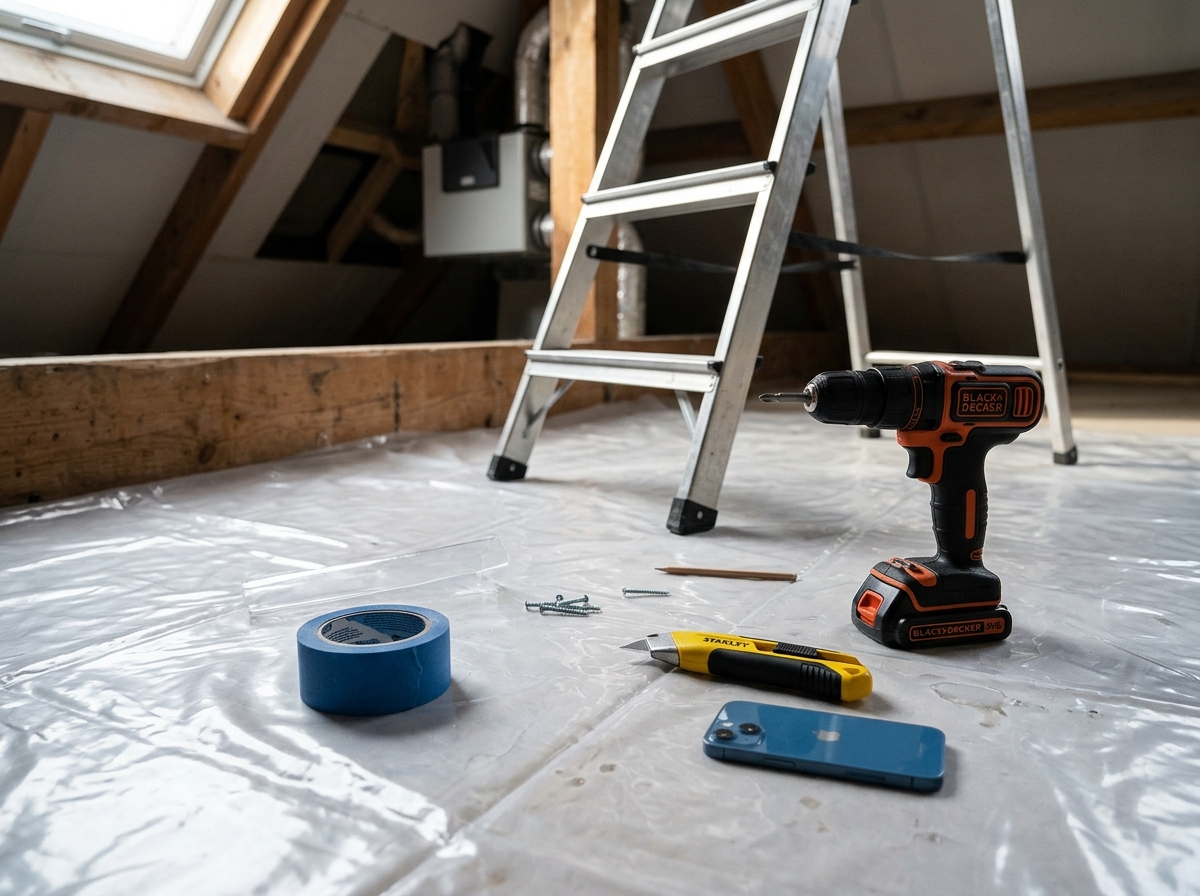
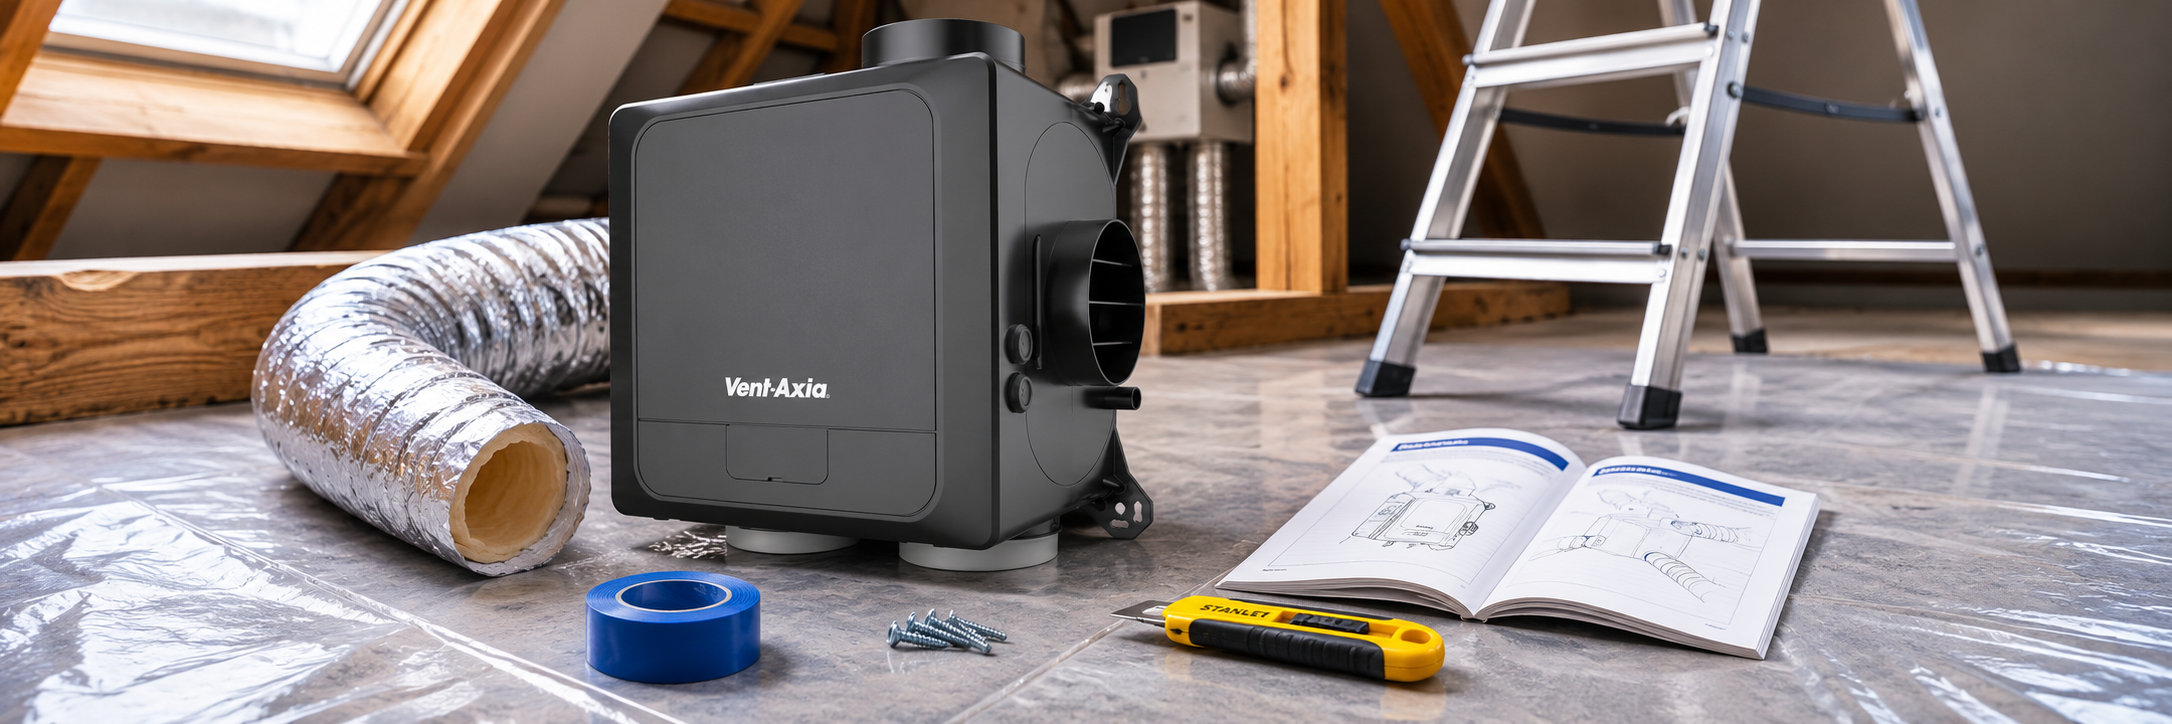
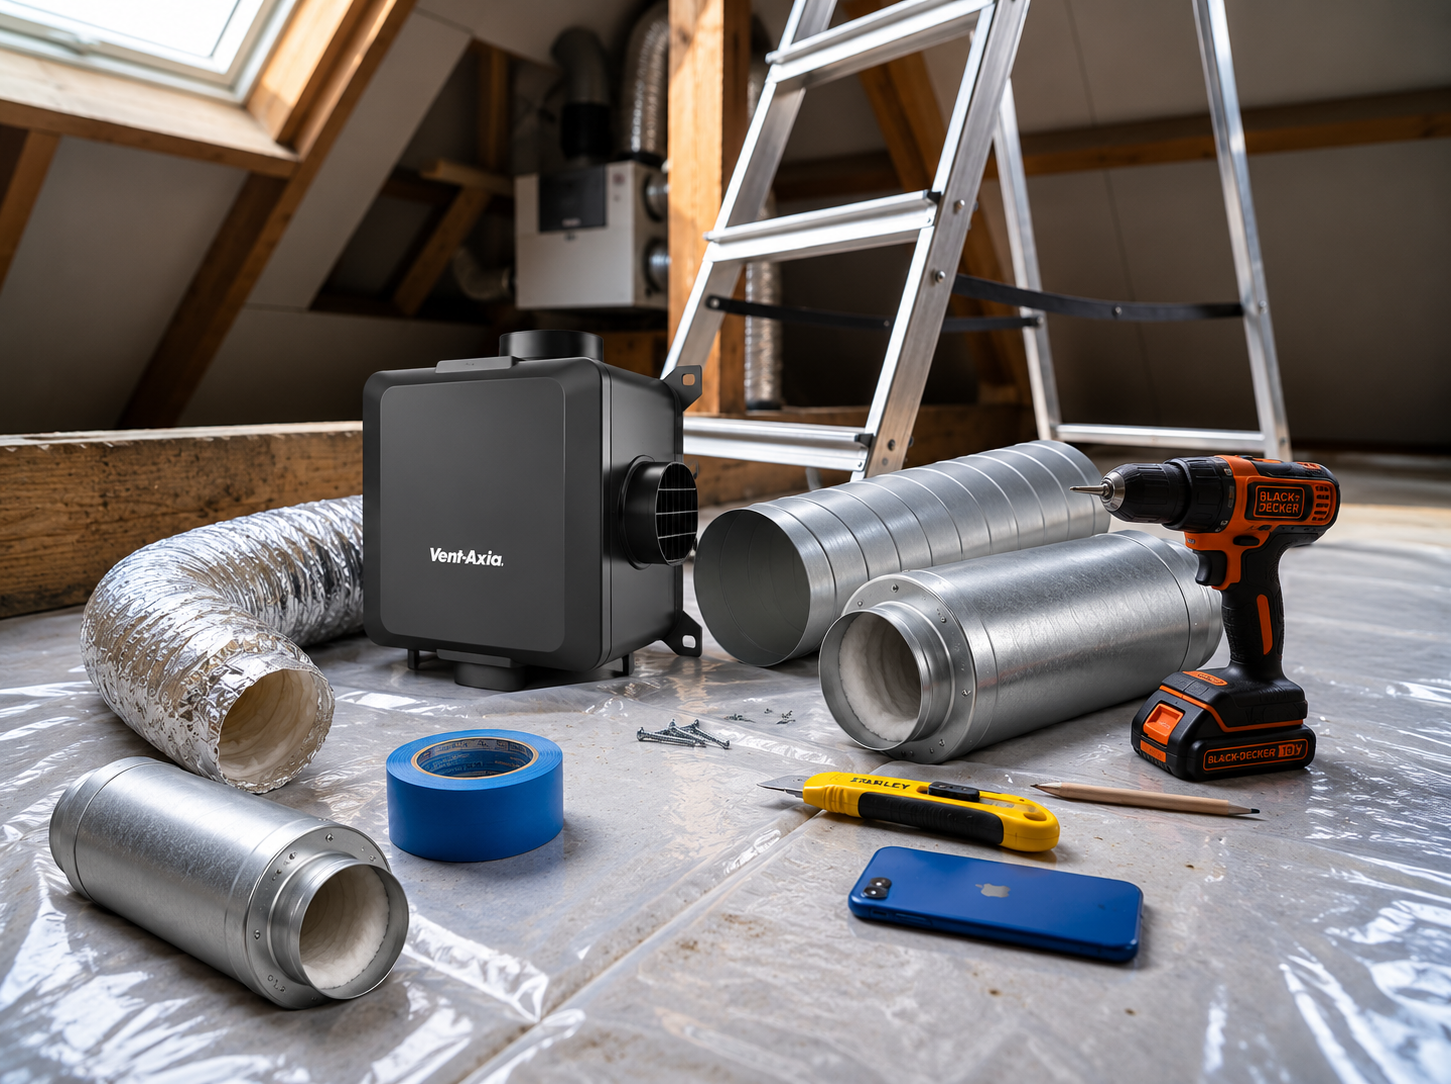
Have you chosen a new unit? Then it's time to take your current unit down. First lay out all the tools you'll need: a screwdriver or cordless drill, a utility knife, a sturdy stepladder or ladder, tape and a sheet of plastic, and possibly your phone to take photos. Then follow the steps below. The exact procedure varies by make and model, so also keep the manual for your old unit to hand if you still have it. Tip: always make sure there are two of you!
Step-by-step plan: replacing your mechanical ventilation unit, part 1
Take photos of the old setup
Use your phone (or a camera) to take photos of the unit, the connections and the electrical connection. If you like, note down which duct is connected to which spigot and which type of unit it is. You'll find this on the unit's rating plate.
IMPORTANT: Switch off the power Safety
Switch the unit off and unplug it. Is the unit hard-wired without a plug? Then have an electrician isolate and disconnect it.
Disconnect the current control and sensors
Is a wired sensor or control module connected to the unit? Then disconnect it following the manual. You can simply leave a wireless control in place.
Disconnect the ventilation ducts
Remove the tape and loosen the hose clamps, including on the ventilation duct that leads outside. Temporarily cover the open ducts with plastic and tape so that no dust or pests can get in.
Take your current unit down
Undo the fixings and lift the unit off the mounting bracket. If you're standing on a ladder, have someone take the unit from you. Always think carefully about your own safety and that of others.
Dispose of your old unit responsibly
A mechanical ventilation unit is electrical waste. Take it to your household waste recycling centre or a collection point for electrical appliances so that the parts can be recycled.
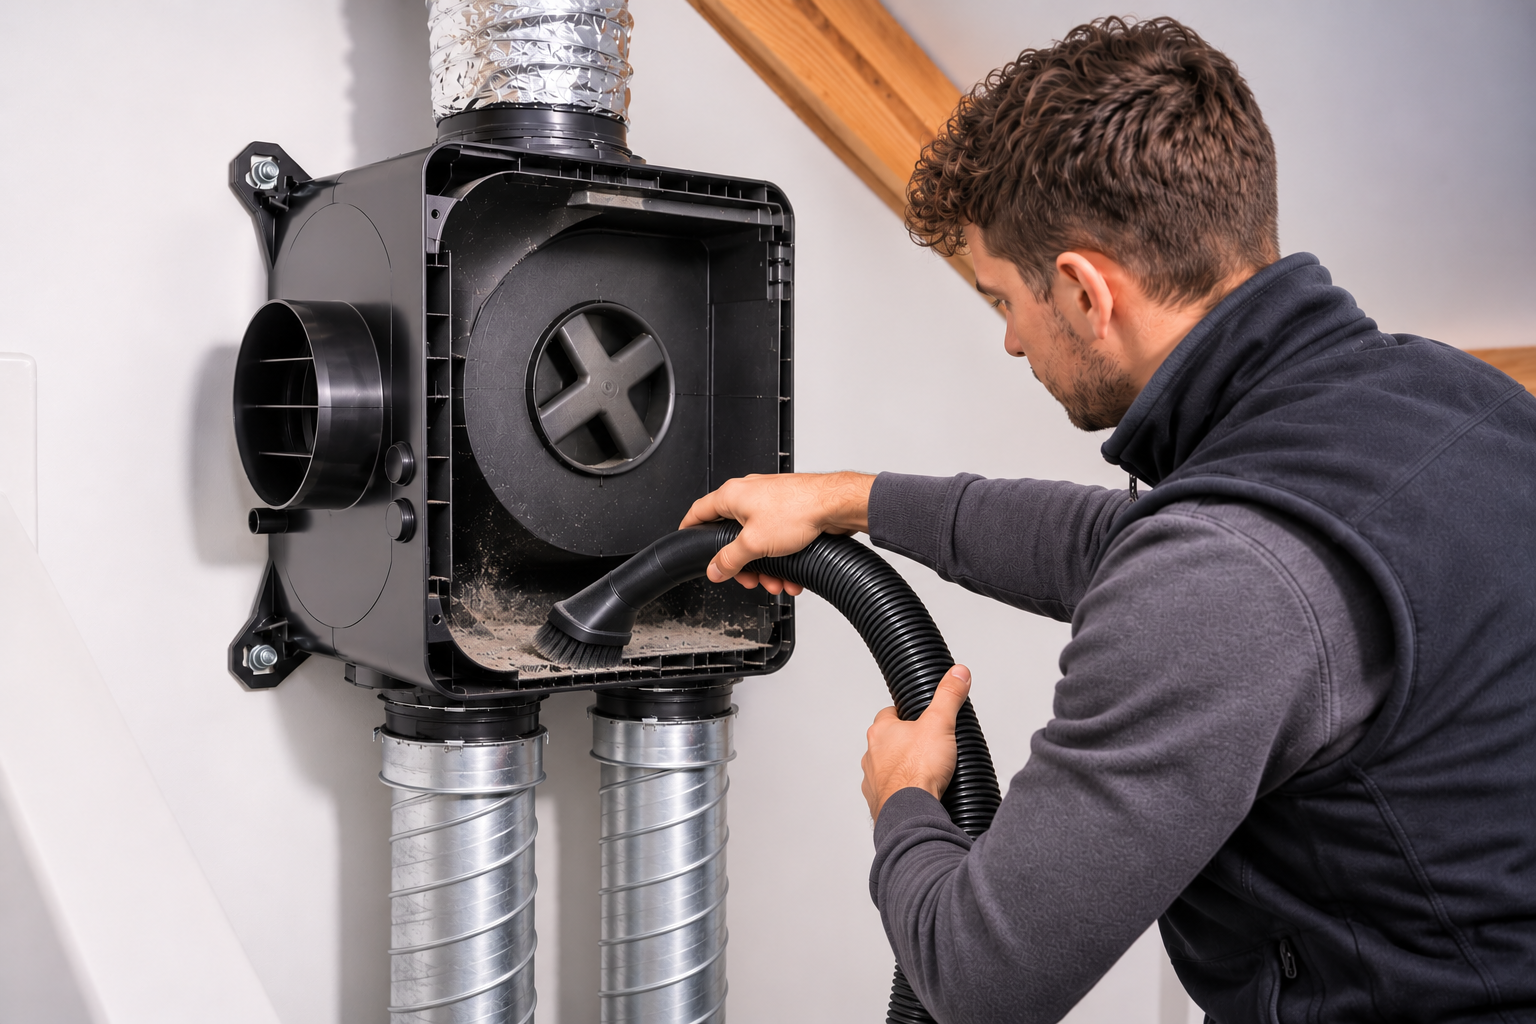
Tip: once your old unit has been removed, the ventilation ducts are easy to reach. Carefully vacuum the first section of each duct on a low setting, and don't go too far into the duct. Cleaning the ducts along their full length is best left to a specialist. You can read how to do this and how often it's needed in our blog on cleaning your mechanical ventilation.
Has the old unit been fully disconnected? Then you can fit your new mechanical ventilation unit. Always read the installation manual for the new unit first! Among other things, it tells you which mounting positions are permitted and how to connect the control. With these four steps, your new unit will be in place in no time.
Step-by-step plan: replacing a mechanical ventilation unit, part 2
1
Hang up the new unit
Fix the mounting bracket supplied with the new unit and hang the unit on it. Always make sure the outlet points towards the roof terminal or wall vent.
2
Connect the ventilation ducts
Slide the ducts over the spigots and secure them airtight with a hose clamp and aluminium tape. Close off any unused spigots with a cap.
3
Connect the power and control
Connect any wired sensor or control according to the manual. Please note: only then plug the unit in or switch the power back on.
4
Switch on your new unit
Switch the unit on and follow the start-up procedure in the manual. Some units first run a short test or calibration cycle.
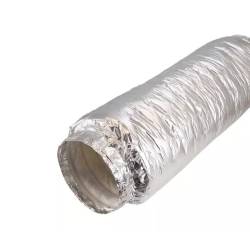
Want your new unit to run as quietly as possible? Then fit flexible sound dampers to the connections on the house side. They stop you from hearing the unit through the ducts in your bathroom or kitchen. For the duct leading outside, use an Isodec thermally insulated flexible duct: the warm, moist air from your home cools quickly in an uninsulated duct, which causes condensation. You'll find more fitting tips, for example on the best location for the unit, in our blog Installation of mechanical ventilation and mounting tips.
Is your new unit in place and running? Great! Now check that it's doing what it should. This is called balancing: adjusting the unit and the valves so that each room gets the right amount of extraction. Go through the checklist below and tick off what you've done.
Checklist for balancing your new unit
The toilet paper test only shows that a valve is extracting air, not how much. Want to be sure that each room extracts the required amount of air? Then an installer will measure the airflow at each valve with an airflow meter and adjust the air valves accordingly. Didn't you turn the valves during the job, and have the capacity and the ducts stayed the same? Then you can usually leave the existing valve settings as they were. Only adjust a valve if one room is noticeably getting too little or too much extraction.
Is your new unit working properly? Congratulations, you've just replaced your ventilation unit yourself! Bear in mind, though, that a new unit will also need maintenance over time. Dust and grease slowly build up in the valves, the ducts and the unit itself. As a result, the unit extracts less air and uses more electricity. By cleaning the valves regularly and having the ducts cleaned by a specialist every now and then, your new unit will last a lot longer. In our blog How can I clean my mechanical fan or MVHR? you can read exactly how and how often to do this.

Replacing your mechanical ventilation doesn't start with a screwdriver, but with the question of whether it's really necessary. Does a service not solve the problems, or is your unit around 15 years old? Then choose a new unit with suitable duct connections, sufficient capacity, the right electrical connection and, if you like, sensors. Next, you safely remove the old unit, fit the new one airtight and check that every room is being extracted properly. Want to replace an MVHR unit rather than a mechanical extract unit? Then read our blog How do I replace my MVHR unit?
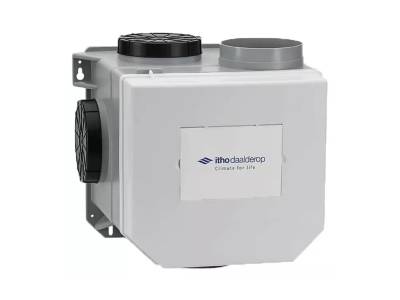
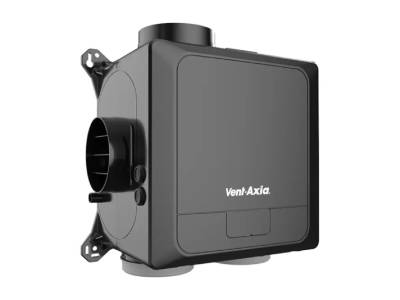
Looking for a new unit? Among all mechanical ventilation systems in our range, you'll find sustainable and energy-efficient units from brands including Duco, Itho Daalderop, Orcon, Vent-Axia, Vasco and Zehnder, with or without sensors. Not sure which unit suits your connections? Our specialists will be happy to help you choose.
Below you'll find answers to the most frequently asked questions about replacing a mechanical ventilation unit. Doesn't your situation fit, or do you want to be sure a unit will suit your connections? Get in touch with our specialists! They'll be happy to help.
A mechanical ventilation unit runs for around 15 years on average. How long your unit lasts depends partly on how many hours a day it runs on a high setting and how often the valves and ducts are cleaned. If a unit of that age starts humming or extracts less air, it's a good time to consider replacing it.
Yes, you can. Make sure the diameter and number of connections match your ducts, that the unit fits in the same place and that the electrical connection is suitable. Sensors and wireless controls from your old brand usually don't work with the new unit, so allow for new sensors.
Usually not. If the ducts are still intact and airtight, simply connect the new unit to the existing ducts, using a reducer if necessary. New ducts are only needed if you add an extract point, if a duct is damaged or if the ducts don't match the connections on the new unit.