


How do I install a spiral duct? Check out our mounting tips!

Installing a spiral duct might seem tricky at first, with all sorts of fittings, connections and diameters involved. But with the right know-how, you'll have an airtight, sturdy duct system up within an afternoon, whether you're running a single spiral duct behind your cooker hood, connecting a duct to your mechanical ventilation unit, or fitting out a whole ventilation system in the loft. In this article, we'll show you step by step how to fit spiral ducts and fittings, how to seal connections airtight, how to easily cut a spiral duct to size, and how to mount it as securely as possible. That way, you can get your spiral duct job done without any hassle, leaks or loose connections.
The key takeaways from this article:
- Spiral ducts and fittings have a slightly different diameter, so you can easily slide them together;
- A plug-in connector joins two spiral ducts, a connecting sleeve joins two fittings;
- Thanks to the handy SAFE connection (sealing rubber), you usually won't need any tape or sealant;
- You can safely cut a spiral duct to size yourself with the right tools;
- Make sure a spiral duct is properly supported with brackets;
- A spiral duct can easily be combined with a flexible hose.
Fitting a spiral duct and its fittings at a glance
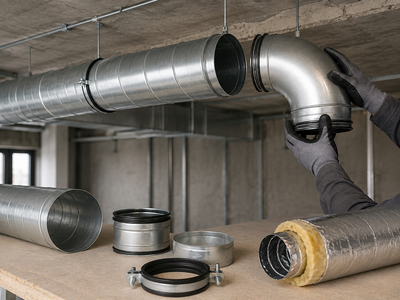
The image below shows what the installation looks like in practice, with more information on every individual part. By clicking an orange plus symbol, you'll go straight to the relevant product category. Below the image, we go into more detail on fitting spiral ducts, with various tips on mounting, sealing connections airtight, cutting spiral ducts to size, mounting them, and combining them with other materials.

None
None

None
None
None

Our tips for fitting spiral ducts and fittings
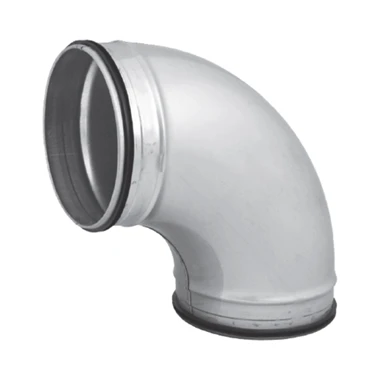
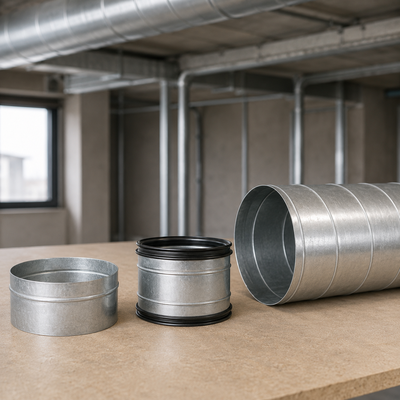
To connect spiral ducts and fittings to each other properly, it helps if they don't all have exactly the same diameter. That's why a duct might have a diameter of 100 mm, for example, while a fitting (anything other than the duct itself, like bends and T-pieces) is slightly smaller, around 98 mm in this case. This lets you slide them together without any hassle.
Which connector you need depends on what you're joining together:
- To join two ducts together, you use a plug-in connector;
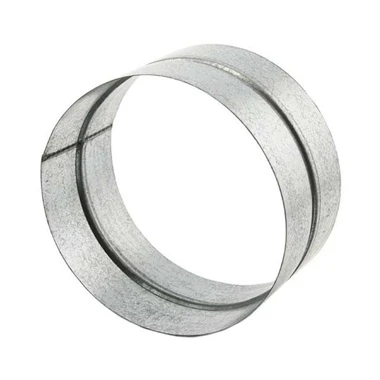
- To join two fittings together, you use a connecting sleeve;
- A duct and a fitting can be attached to each other directly.
A connecting sleeve is really nothing more than a short section of duct. A plug-in connector, on the other hand, is smaller in diameter and slides inside a duct. The connection on an inline duct fan works on the same principle. That connection is called either a side end or a channel end. You'll find which type of connection your inline duct fan has for every product on our website, under the specifications for "connection":
- Side end: no plug-in connector needed, you can attach the duct directly to the inline duct fan;
- Channel end: you do need a plug-in connector, because the diameter here matches that of the duct.
All our spiral fittings come with a SAFE connection (sealing rubber), so you know for sure your connection is airtight. You won't need any tape or sealant for this. Even so, there are situations where you might want to seal that connection a bit further, for example with a long run of ducting or a connection outside. You'll find out how to do that below.
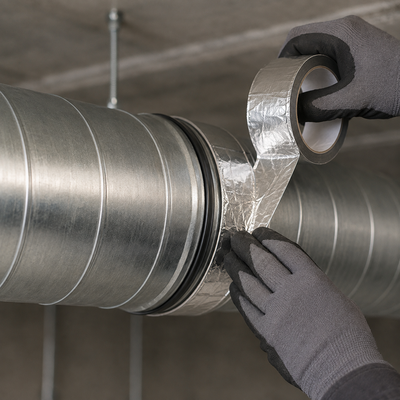
How do you seal connections airtight?
A SAFE connection usually already makes for an airtight joint, but in some situations you'll want extra peace of mind. Think of ducting that runs outside or in an unheated space, where temperature differences can cause condensation, or a connection that has to withstand a lot of tension. For these situations, you have two options:
- Aluminium insulation tape: stick this around the seam of the connection to seal any small gaps, while also giving the duct a bit of extra insulation against condensation;
- Mounting sealant or adhesive: this makes the connection permanent and airtight, handy for joints you'll never need to take apart again.
Using a regular duct or fitting without a SAFE connection? Then we'd recommend sealing the seam with insulation tape or sealant either way, so you don't lose any air along the whole duct run.
How do you cut a spiral duct to size?
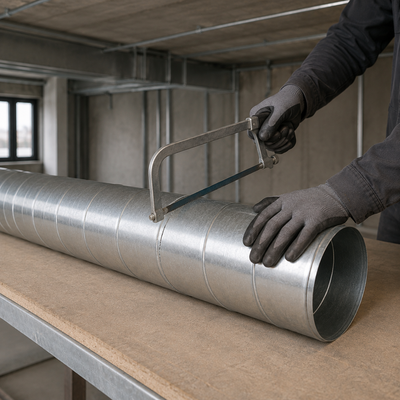
The spiral ducts in our range are typically available in lengths of 1.5 metres, but in practice you won't always need exactly that length. Luckily, you can easily cut a spiral duct to size yourself. Here's how:
- Measure the length you need precisely and mark a straight line around the duct, for example using a marker and a piece of card or a pipe clamp as a guide;
- Cut the duct along this line with a hacksaw or an angle grinder fitted with a metal-cutting disc. Make sure you cut straight, so the duct still fits neatly and squarely into the connector afterwards;
- File or sand the cut edge lightly, so there are no sharp edges or burrs left that could damage the sealing rubbers.
This way, you can adjust any spiral duct exactly to the space you have, without compromising on an airtight, sturdy connection.
Supporting and mounting spiral ducts
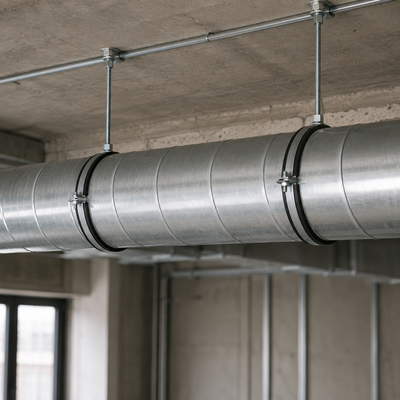
It's best not to leave a spiral duct lying loose, not even in a crawl space or loft. Without support, the duct can sag, which can cause connections to come loose or seams to leak. That's why you mount a spiral duct using brackets with rubber. The rubber also stops the duct from vibrating or rattling against the bracket. Exactly how you position the brackets depends on the situation:
- For a horizontal position, for example along a loft joist, fit a bracket roughly every 1 to 1.5 metres to stop the duct from sagging;
- For a vertical position, such as in a service shaft, secure the duct to the wall roughly every 1.5 to 2 metres so it can't shift;
- Is the duct supported by the floor or a duct channel? Then a single bracket at each joint is often enough.
As a rule of thumb: the longer the run and the heavier the duct, the more often you'll need a bracket. Not sure about the right distance for your situation? Our customer service team is happy to think it through with you.
Combining a spiral duct with a flexible hose
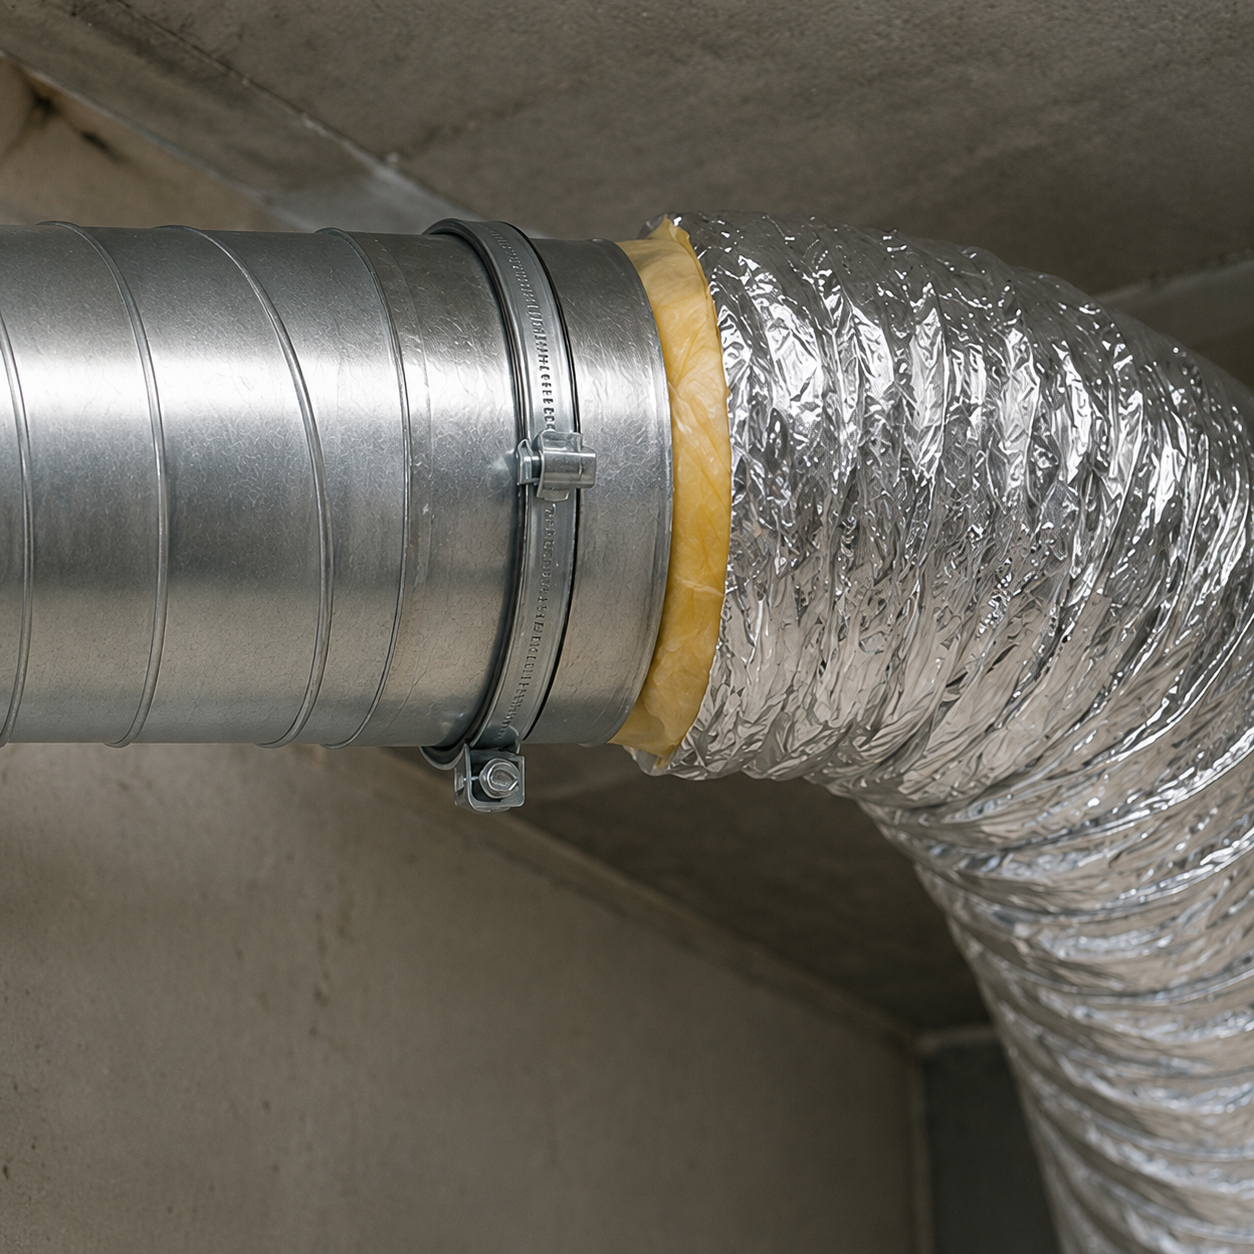
You can easily combine a spiral duct with a flexible hose or an air distribution system, for example if you need to bridge the last bit to a grille or valve somewhere a rigid duct won't fit around the corner. Here's how:
- Use a reducer or adapter that fits both the diameter of your spiral duct and that of your flexible hose;
- Slide the flexible hose over the adapter and secure it with a hose clamp, so it can't come loose;
- Seal the join with extra insulation tape, since a flexible hose usually doesn't have a SAFE rubber seal.
This way, you combine the sturdiness of a spiral duct with the flexibility of a hose, exactly where you need it.
With these tips, you can get started fitting, sealing and mounting your own spiral ducts. Can't quite figure it out, or not sure which parts you need exactly? Our customer service team is happy to help.
FAQ
The FAQ below covers the most common questions about installing and fitting spiral ducts, laid out clearly for you. Do you have questions about your specific situation, or can't you quite figure it out? Our experts are ready to help, so feel free to get in touch!
Yes, that's no problem. Measure the length you need, cut the duct straight through with a hacksaw or an angle grinder fitted with a metal-cutting disc, and file the edge lightly so there are no sharp edges left.
That depends on your connection. With a side end, you attach the duct directly, no plug-in connector needed. With a channel end, you do need a plug-in connector, because the diameter here matches that of the duct.
Usually not, the SAFE connection is already airtight. Only with long runs, an outdoor connection, or a lot of tension on the joint is extra insulation tape or sealant worth adding.
Yes, with an adapter that fits both diameters. Secure the flexible hose with a hose clamp and seal the join with insulation tape as well, since a flexible hose usually doesn't have a SAFE rubber seal.
As a rule of thumb, fit a bracket roughly every 1 to 1.5 metres for a horizontal run, and roughly every 1.5 to 2 metres for a vertical run. The longer and heavier the duct, the more often you'll need a bracket. Not sure about your situation? Our customer service team is happy to think it through with you.
Can we help you with anything else?
At Ventilationland, we think it is important that we can always be reached and answer your questions as quickly as possible. Therefore, you can reach us in several ways, including via chat or WhatsApp. We are happy to help!